I've been having some difficulty installing the harmonic balancer on my '31 Sport Coupe. I've had it partially on twice, and removed it with a steering wheel hub puller after each try.
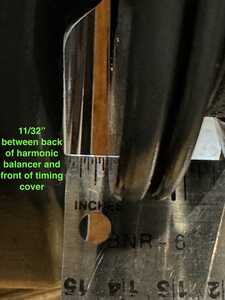
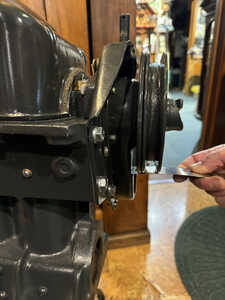
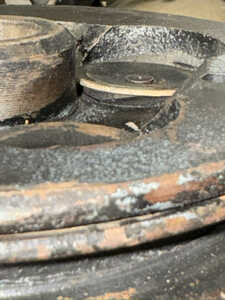
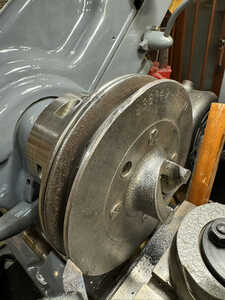
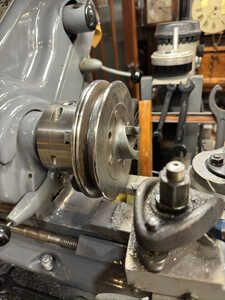
I'm using a piece of hardwood held at the outer end, and a 5 pound hammer, but it seems as though it's probably stopping short of seating. It gets very, very tight until it can't travel further, but never seems to give me the sound or feel of a final, solid "thunk" of the interior end of the balancer hub seating upon the slinger. I've attached three photos, showing the "seated" clearances that it's currently giving me.
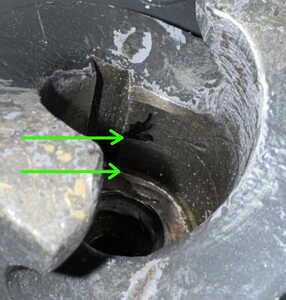
The black Sharpie squiggle in the closeup photo is based on where it seems the front end of the crankshaft should come to, as measured (for reference with the harmonic balancer off), from the outer surface of the oil slinger, to the shaft end. Instead, it seems to be stopping perhaps about a quarter inch premature. I don't want to punish the crankshaft mountings or balancer further, my next step possibly being to warm the harmonic balancer to 400 degrees and re-try. First however, it would be very helpful to know what the installed position should be. Any insight would be most welcome. My engine bottom end work is completed except for this one loose end. Andy Baron, Santa Fe
First and most important are you holding the weight to pulley section with snug bolts? It is critical so you don't distort the spring retainers holding them together. It will be necessary to position the wood block as close to the inside edge of the nose that has the cups for a starting crank. I am not home where I can measure the distance between the timing gear cover and the weight on the back of the balancer assembly. It should be closer than the 11/32" shown. The final position should be inline with the pulley on the water pump. I have found that the last ~ 1/2" can require some firm blows. Working around the center "nose" with firm blows has worked for me. Heating the assembly to 400 deg likely will destroy the rubber parts of the assembly.
How sweet the roar of a Chevy four
Participant on Chatter since 11/22/2001
19758 posts on the former Chatter site
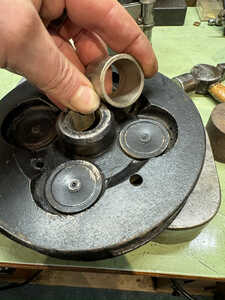
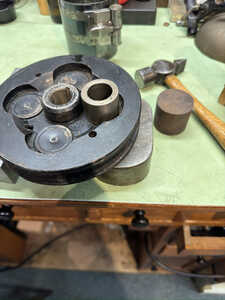
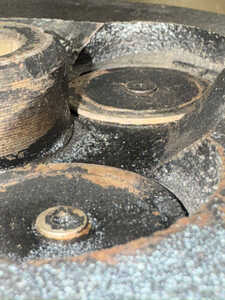
Thanks, Chip for your timely reply. It made me realize that while I was using a safe method to remove the balancer, I utterly failed to remember to bolt the sections together upon re-installation! This has almost certainly added insults to injuries sustained by the hack who worked on the engine just prior to my acquisition. They used a 2-jaw puller, slipping off multiple times, clumsy hammer blows on the rim, etc. No doubt internal damage was sustained in that you can "clunk" the two sections when gripping it and exchanging squeezes from one hand to the other. I first noticed this upon removal with the steering wheel puller. I've thought this could be a problem in operation.
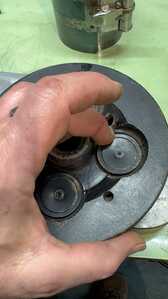
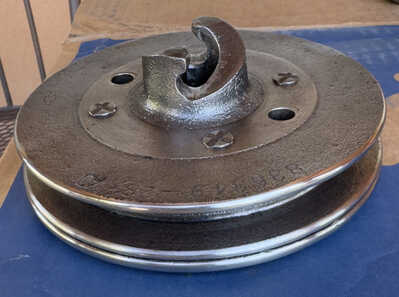
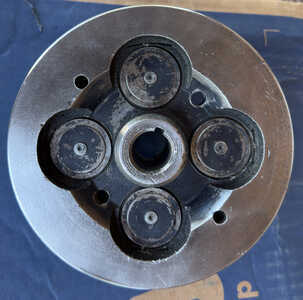
Attached photos show my attempts to restore the stretched washers and damaged rim, both of which I was able to mostly flatten prior to lathe cleanup. I also attempted (to no avail) to reduce the clunk by taking up any stretching of the four rivets with a flat-faced punch from the back side.
I'm aware of the stacked miniature leaf springs described in period literature. Are the rubber components the discs under the washers on the back side, or are there more rubber pieces that can't be seen? Your mention of the water pump pulley as a reference is vitally helpful. The water pump is not yet reinstalled, and it wasn't on my radar at all. Many thanks for these in
sights. It looks like I may be in the market for a viable harmonic
balancer... Andrew
