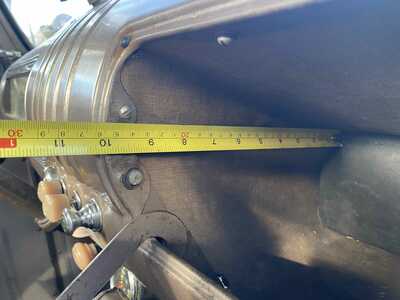
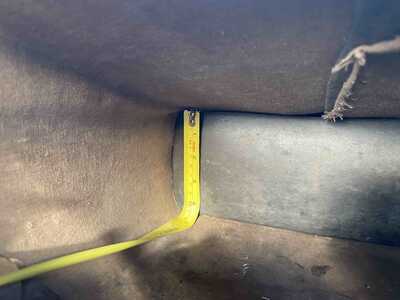
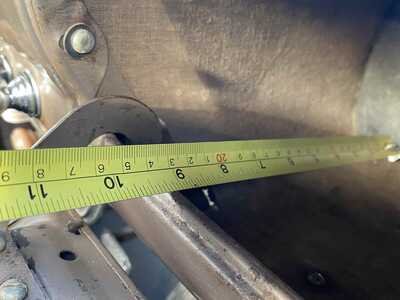
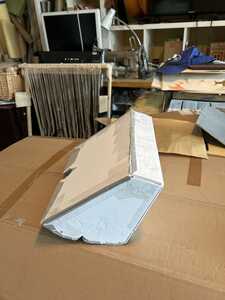
In my latest attempt, I removed the heater assembly and tried to install the glove box. It was new ? From a known supplier. It won't fit. The defroster vent is in the way. I compared the new box with the old ? Box. Looks about the same.
Maybe trucks didn't usually come with defrosters allowing for the glove box to fit..... Special glove boxes? If the defroster vent curved any more than it is, it might not work....
Any body have any measurement of a glovebox installed with a defrost vent?
Mike
In addition...
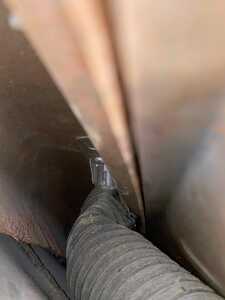
On looking further, it appears my ducts actually angle somewhat towards the right side of the cab.
They don't angle ahead or back, just towards the right side. (see attachment)
Thus...
My right defroster hose actually comes down from the duct, lays right on the top of the glove box, and goes AROUND the RIGHT side of the glove box and down to the defroster itself, which sits BELOW the glove box.
It was REALLY hard to even get a good picture up in the duct area, so working up there to attach the hose would be impossible. The glove box has to be out for that.
However, because my hose comes AROUND the glove box, I think I should be able to take out the screws and move it forward enough to either work around it or maneuver it out of there.
Ole S Olson
Saskatoon, Sask, Canada
1946 DR 3/4 ton stake
1139 old site posts
I think I need to clarify my previous post.
The ducts don't angle ahead or back in as much as they are PERPENDICULAR to the surface they mount to.
But because that surface does have a slope to it...
The bottoms of the ducts do in fact point forward.
The above attachment needs to be rotated to the left to show everything in it's natural orientation.
Sorry for any confusion. 🙂
Ole S Olson
Saskatoon, Sask, Canada
1946 DR 3/4 ton stake
1139 old site posts
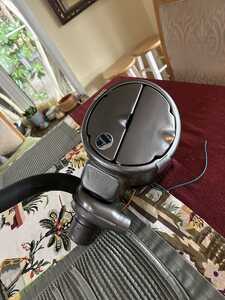
I thought I would give a final report on my trials with this heater...... I am in the process of completing the restoration on my 1940 Chevy PU and I was offered a heater that was compatible with the age of the truck. Not wanting to give up an opportunity to add another piece to the puzzle, I bought it. It was in good condition so a little sandblasting and painting did a lot to make it fit in. Before mounting it, I decided to have the heaters radiator core checked. I haven't had any radiator work done in a few years so I went to my usual places..... which I found were no longer doing radiators. Apparently the EPA is cracking down on these places and the new requirements to rebuild radiators are cost prohibited.... But fear not, you can always go to Tampa or Tarpon Springs for service. I just wanted to see if would hold water..... Not leak..... Being in Florida I really didn't need a working unit...... Actually that's not true... It bugs me when things don't work so I needed to get this tested. The owner of one of my old haunts told me that's it's really easy to check.... Just put some air pressure... Keeping the pressure low... About 10-15 pounds... into the core and put the core into a bucket of water and see if it bubbles.... No bubbles, no leaks. Just like old bicycle tubes when I was a kid...
I was lucky, it seemed to hold air.... I was ready to install.
The heater unit has both the cab heater fan as well as a blower fan for the defroster.... My truck has factory defroster vents cut into the dash.... And after some discussion on the VCCA website I had some idea as to the shape and size of the attaching vents. I found the vents on ebay as well as the 1-1/2 in tubing that's connects them to the blower motor.... A little sandblasting and paint .... things were looking good....
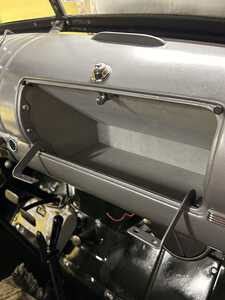
I installed the vents, hoses and heater unit... A dry run test.... Worked great .... Until I tried to install the glove box. The glove box I had purchased from the supplier installed fine without the heater but now the heater defrost vent prevented it from being installed. It seems that the curved defroster vent interferes with the top of the glove box and the heater unit makes the the box too long. I had no idea if I needed a different size glove box or maybe I'm just using the wrong heater. Discussions on Stovebolt and on the VCCA sites never produced a definitive answer. I believe I have the correct heater assembly so I decided I need a new glove box. I find that a lot of things I get from suppliers are generic and aren't necessarily correct for the project year....
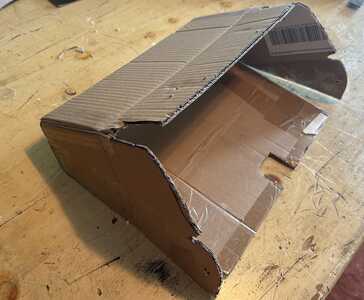
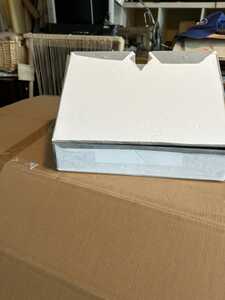
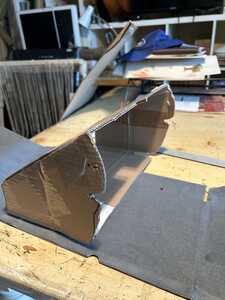
To build the new box, I dissembled the box I had and used it as a basic pattern. I used this pattern to create my own cardboard copy which I could modify. The original box front fit the dashboard fine without the heater..... it was the height in the back and the length that had to be changed. To lower the back but not the front, I lowered the angle... front to back..... to accommodate the curve of the defrost vent, then made it shorter to clear the heater.
I taped the parts together and tried to install it.... With a few modifications, I got it to fit. Patience is a virtur here.... "I CUT IT TWICE AND ITS STILL TOO SMALL"....
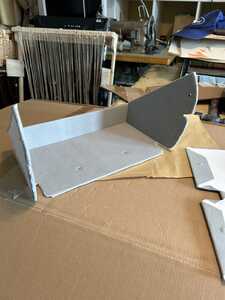
I took my cardboard model apart and used it as a pattern to create another box cut out of foam core board. If I had some flat decent cardboard I could have used that but I didn't... Just some old shipping boxes... I needed the cardboard flat and smooth so when I applied the felt covering it would look nice.
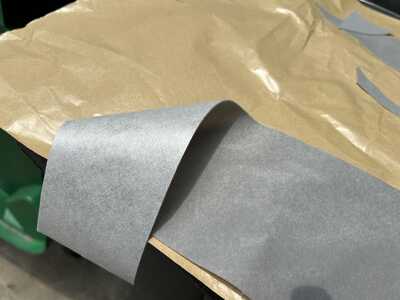
I found a supplier ... Amazon of course..... of adhesive backed felt that is used to line things like jewelry boxes. It comes in a roll about 16 inches by 6 ft.... plenty for my project and only about $8.
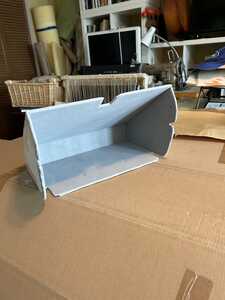
I used my final cardboard pattern to cutout the final box out of the core board. When I cut it, I made sure I only scored....cut half of the way through ...... where I bent the foam core board so that I would get a nice smooth bend.
I placed the felt...ahesive side on the board and cut the felt around the pattern leaving about an inch that I could use to wrap the edge....giving it a finished look. I taped the box together.... being careful not to tape over the felt..... the tape doesn't stick so well of felt..... so you will have remove any felt from where you are taping. All of my sides would fold in place except the top. That was taped on so I didn't really have to worry much about covering the edges with felt. I could have folded one side of the top also but my core board was not large enough for that.
And once installed in the truck..... Yes it actually fit....... Just make a lot of models, test them and make sure you use the model that actually fits...
I would guess this process..... using core board.... It's Waterproof.... Could be used in other places on the car also.... Sun visors, kick panels.... Possibly using interior finish materials for the felt....
Thanks to everyone who helped.... Much appreciated.....
Now I just need to wait for winter to test the heater .....
Just thinking..... Now that's a dangerous thing to do........
Looks great!


